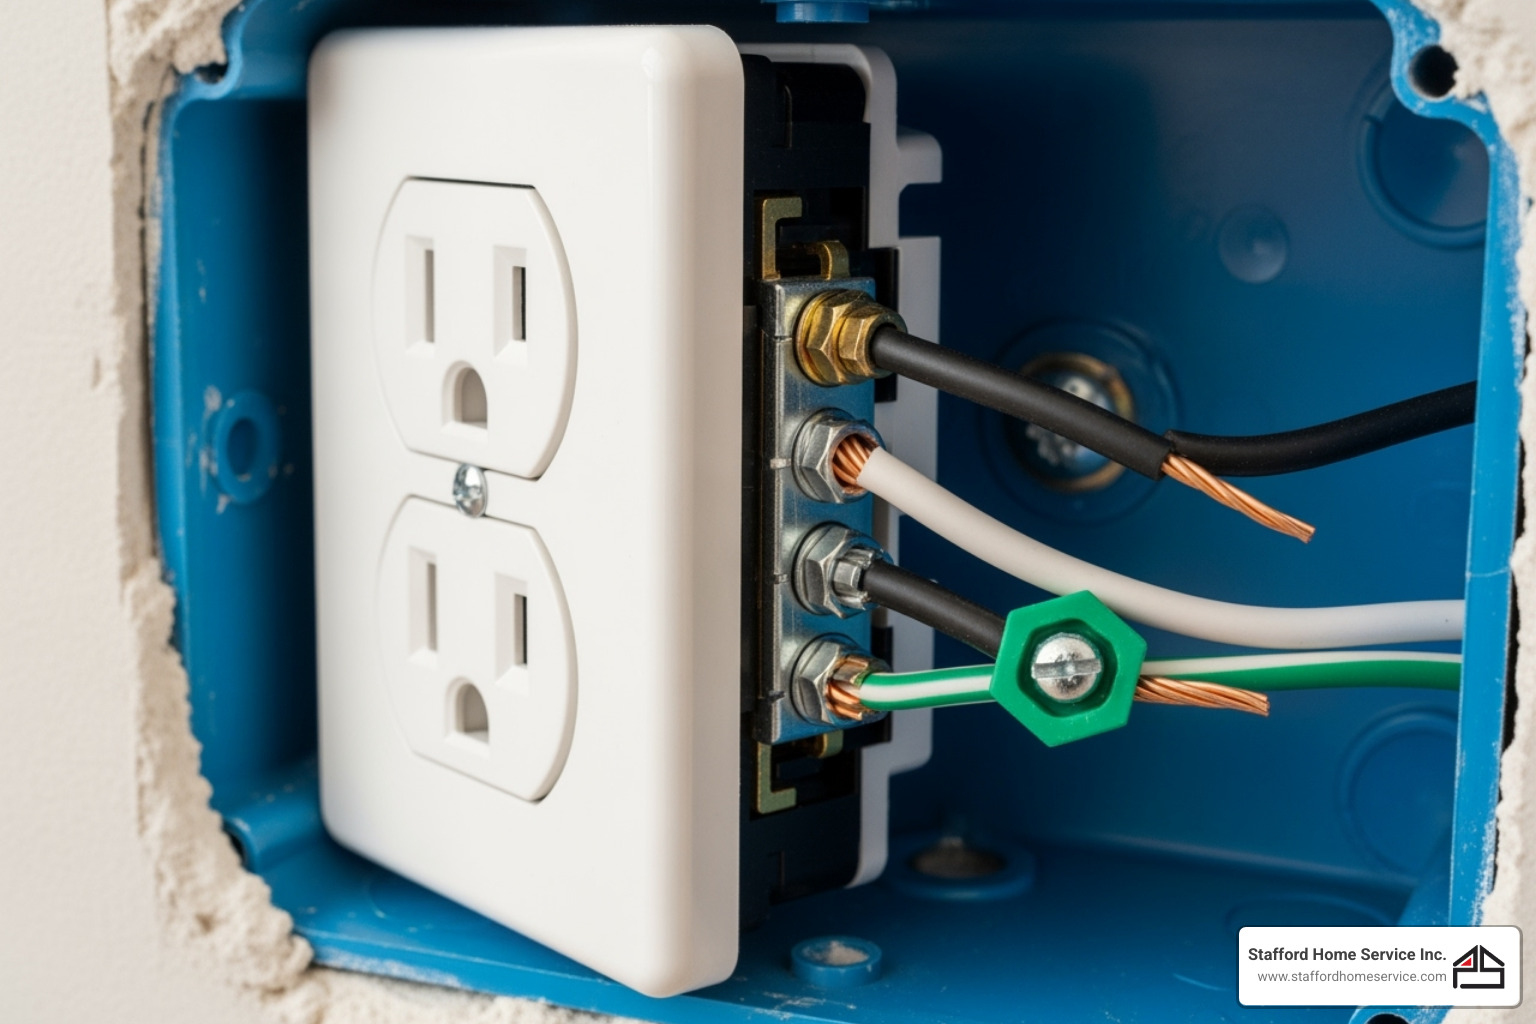
Why Every Home Needs More Power Outlets
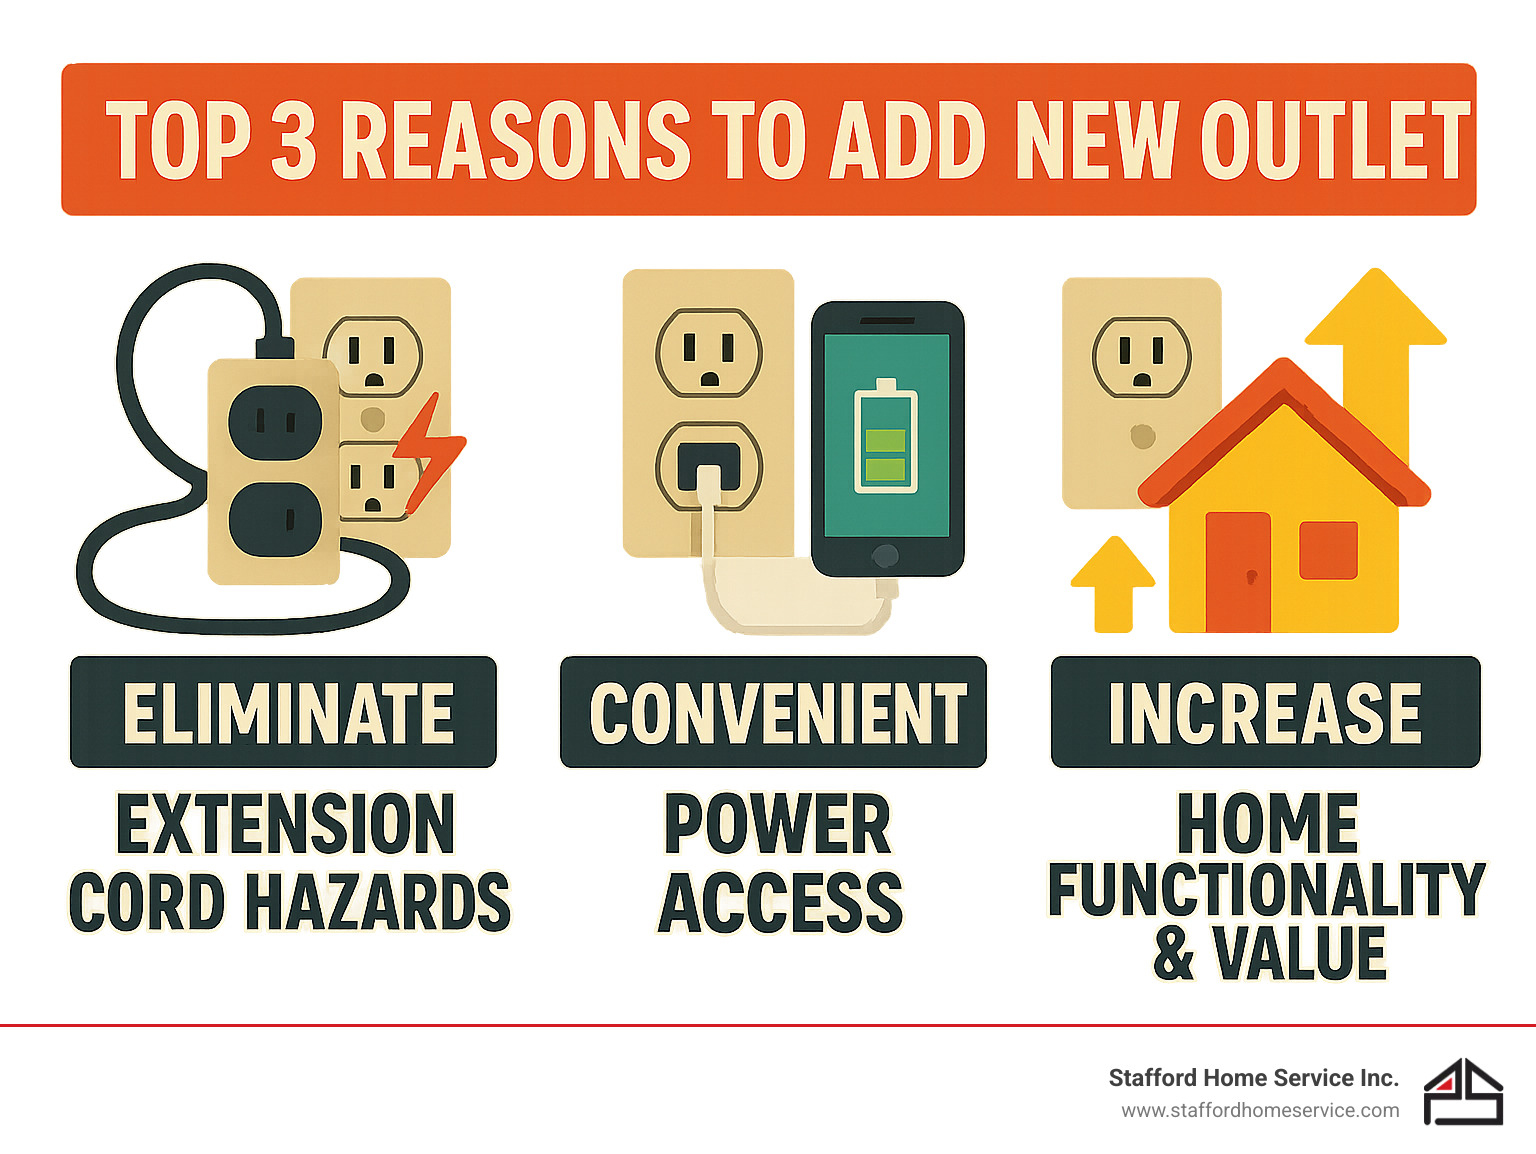
An add new power outlet project is a practical home improvement that improves both safety and convenience. It eliminates the need for hazardous extension cords and provides power exactly where you need it.
Quick Answer: To add a new power outlet, you need to:
- Turn off power at the circuit breaker and verify it’s off.
- Choose a power source, like a nearby existing outlet.
- Cut an opening for the new electrical box.
- Run electrical cable from the source to the new location.
- Wire the new outlet, connecting the hot, neutral, and ground wires.
- Test the installation before finishing up.
Modern homes demand more power access for smartphones, laptops, kitchen gadgets, and a growing number of smart devices. Insufficient outlets often lead to the unsafe use of extension cords.
Fortunately, adding an outlet is a manageable DIY project for many. With proper planning, the right tools, and a focus on safety, you can affordably expand your home’s electrical capacity.
However, electrical work is inherently risky. Always prioritize safety over speed. If you’re ever in doubt, especially with complex tasks like panel upgrades or handling aluminum wiring, call a professional.
Before You Begin: Safety, Tools, and Planning
When you add new power outlet, proper preparation is the key to a smooth and safe project. Rushing the prep work can lead to frustrating mistakes and serious safety risks.
Essential Tools and Supplies
Gathering the right equipment is crucial for your safety. Do not substitute or skip electrical-specific tools.
Tools:
- Non-contact voltage tester: Your most important safety tool. Use it to verify that power is off. Test it on a known live circuit first.
- Wire strippers: To remove insulation without damaging the copper wire.
- Screwdrivers: Both Phillips and flathead.
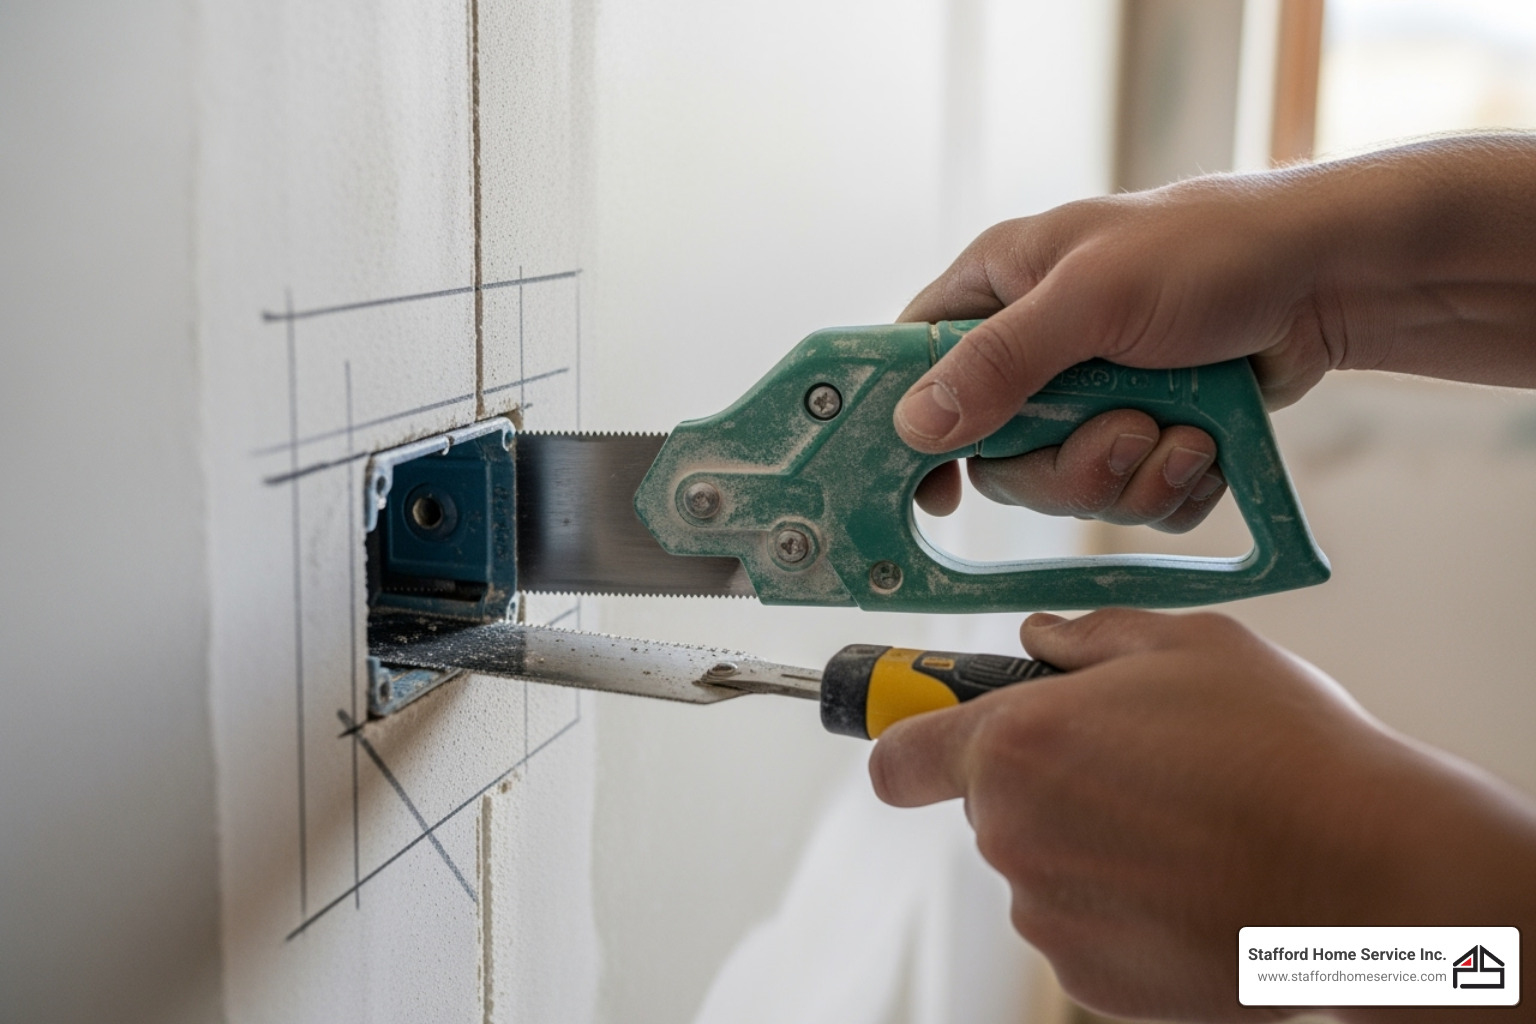
- Drywall saw: For cutting a clean opening for the electrical box.
- Drill: For pilot holes and running cable through studs.
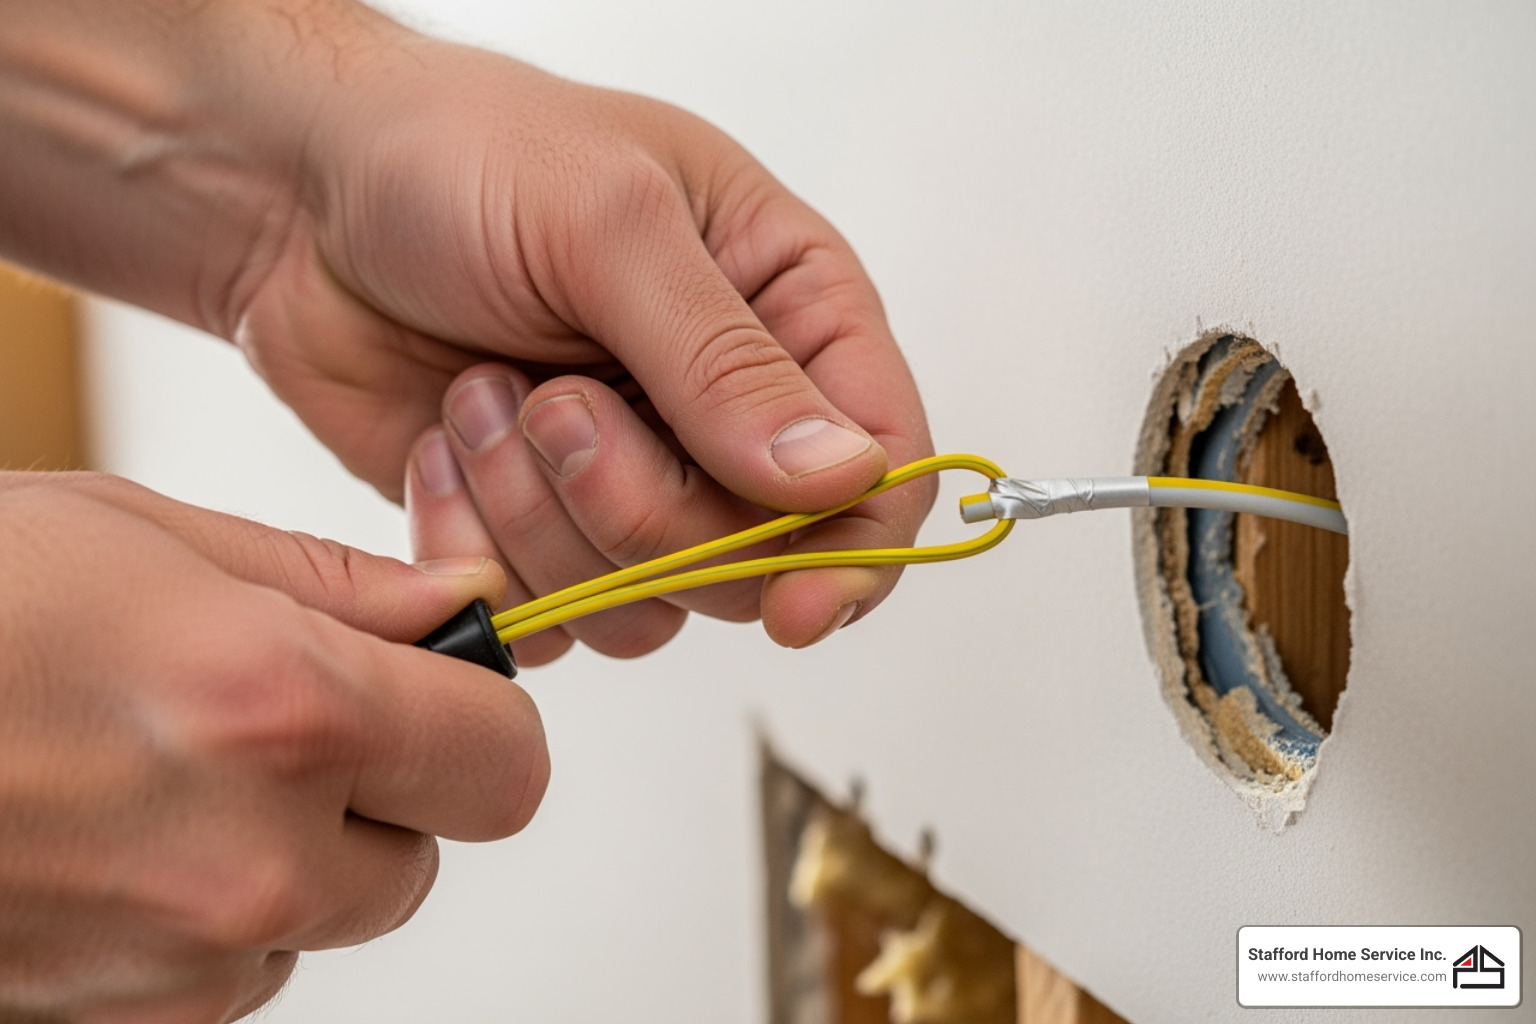
- Fish tape: To pull wires through walls. A stiff wire can work for short runs.
- Needle-nose pliers: For bending wire ends into loops.
- Level and pencil: For marking and ensuring the outlet is straight.
Supplies:
- Old work electrical box: Designed with clamps to secure to drywall.
- Receptacle outlet: The device that provides power.
- NM-B electrical cable (Romex): Ensure you have the correct gauge for your circuit.
- Wire connectors (wire nuts): For splicing wires securely.
- Cover plate: For a finished look.
The Golden Rule: Electrical Safety Precautions
Electricity is dangerous, so follow safety rules without exception.
First, always turn off the power at the circuit breaker. If your panel isn’t clearly labeled, you may need to test breakers one by one to find the correct one. Place tape over the breaker switch to prevent someone from accidentally turning it back on.
Next, and most critically, verify the power is off with your voltage tester. Test every wire and screw on the outlet you plan to work on to be certain it’s not live.
Wear safety glasses and consider insulated gloves. If you encounter old fabric-insulated wiring, damaged wires, or aluminum wiring, stop immediately and call a professional. For more information, consult the Electrical Safety guidance from the University of Oregon.
Planning Your New Outlet’s Location and Load
Decide where your new outlet will go and ensure it won’t overload the circuit.
Location: Choose a location based on actual need, like for a wall-mounted TV or a charging station. Use a stud finder to locate an open wall cavity between studs. For a clean look, mount the new outlet at the same height as existing ones in the room.
Circuit Load: Every circuit has a capacity limit (amperage), which you can find on the breaker (usually 15 or 20 amps). Before you add new power outlet, consider the existing load on that circuit. Adding a high-wattage appliance like an air fryer could overload it and cause the breaker to trip.
Permits: Permit requirements vary by location. While replacing an outlet may not require a permit, adding a new one often does. Check with your local building department before you begin. A permit ensures your work meets the National Electrical Code and local safety standards.
Understanding Your Circuit: Amperage, Wire, and Outlet Types
Before you add new power outlet, you must match all new components to your existing circuit to ensure safety and proper function. Think of your home’s circuits as electrical highways, each with a specific capacity (amperage).
| Feature | 15-Amp Circuit | 20-Amp Circuit |
|---|---|---|
| Breaker Size | 15 Amps | 20 Amps |
| Wire Gauge | 14-gauge (minimum) | 12-gauge (minimum) |
| Common Uses | General lighting, bedroom outlets, most living areas | Kitchen, bathroom, laundry, garage outlets, dedicated appliance circuits (refrigerator, microwave, vacuum cleaner) |
| Outlets | Can use 15-amp receptacles (standard duplex) | Can use 15-amp or 20-amp receptacles (T-slot for 20A) |
15-amp circuits handle general needs like lamps and chargers, while 20-amp circuits power high-draw areas like kitchens and bathrooms.
How to Determine the Correct Amperage and Wire Gauge
Matching the wire gauge (thickness) to the circuit’s amperage is critical for fire safety. To find the amperage, check the number stamped on the circuit breaker in your electrical panel (“15” or “20”).
- 15-amp circuits require 14-gauge wire (look for “14/2” on the packaging).
- 20-amp circuits require thicker 12-gauge wire to safely handle the higher current.
A crucial safety rule: You can use a thicker wire on a smaller circuit (e.g., 12-gauge wire on a 15-amp circuit), but never use a thinner wire on a larger circuit (e.g., 14-gauge wire on a 20-amp circuit). This is a serious fire hazard.
Choosing the Right Outlet for the Job
Select the correct outlet type for the location and intended use.
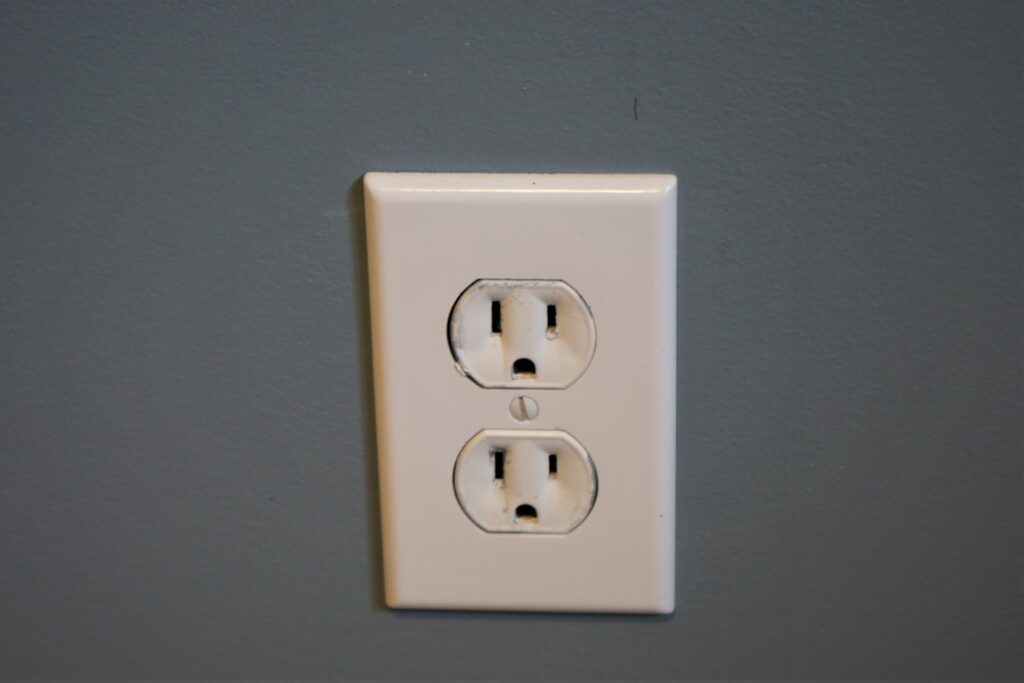
- Standard duplex outlets: These 15-amp outlets are the common choice for general use in living rooms and bedrooms.
- GFCI outlets: Recognizable by their “Test” and “Reset” buttons, these are life-saving devices that prevent electrical shock. The National Electrical Code requires GFCI protection in locations near water, including kitchens, bathrooms, laundry rooms, garages, basements, and all outdoor outlets. When wiring, connect incoming power to the “LINE” terminals and downstream outlets to the “LOAD” terminals.
- AFCI protection: Arc-fault circuit interrupters guard against electrical arcs that can cause fires. This protection is often provided by a special circuit breaker, but AFCI outlets are also available.
- USB combo outlets: These modern outlets combine traditional plugs with USB ports, freeing up space and eliminating the need for bulky adapters.
- 240-volt outlets: These are for large appliances like electric dryers and ranges and require professional installation.
Matching the outlet to the location is key. A GFCI in the kitchen isn’t just a good idea—it’s a code requirement that improves safety.
The Main Event: How to Add a New Power Outlet Step-by-Step
This is where your planning pays off. As you add new power outlet, work slowly and precisely to ensure a safe and successful installation.
Step 1: Finding a Power Source and Cutting the Opening
The easiest way to power your new outlet is to tap into a nearby existing outlet on a general-purpose circuit. Avoid using kitchen or bathroom circuits, as they are often heavily loaded.
First, turn off the power at the breaker and use your voltage tester to confirm the circuit is dead. Use a stud finder to choose a location for the new box in an open wall cavity between two studs. For a professional look, match the height of other outlets in the room.
Place your ‘old work’ electrical box against the wall, use a level to make sure it’s straight, and trace its outline with a pencil. Carefully cut along the line with a drywall saw. Test-fit the box to ensure a snug fit, but don’t secure it yet.
Step 2: Running the Electrical Cable
Running cable through walls can be tricky. If you’re not comfortable, it’s wise to call a professional.
The easiest path is often through an attic or basement. Drill holes through the top or bottom plate of the wall frame above your source and new outlet locations. If you must cross studs, drill a 3/4-inch hole through the center of each one. You may also need to drill through horizontal fire blocks.
Use fish tape to pull the new cable through the wall. Securely attach the cable to the end of the fish tape and guide it along the path. Having a helper makes this step much easier. Once the cable is run, secure it with staples every few feet and within 8 inches of each box. Protect the cable where it passes through studs with nail plates.
Step 3: How to Properly Wire the New Outlet
Proper wiring is critical for safety. This step connects everything together.
Leave 6-8 inches of cable extending into each box. Carefully strip the outer sheathing, then strip about 3/4 inch of insulation from the ends of the black and white wires.
Pigtailing is the recommended method for connecting the wires. At the source outlet, use a wire nut to join the existing hot (black) wire, the new hot wire, and a short black pigtail wire. Repeat this process for the neutral (white) wires and the ground (bare copper) wires. For more details, see this guide on the Proper use of Wire Connectors.
Connect the pigtails to the new outlet following the color code:
- Hot (black) wire to the brass screw.
- Neutral (white) wire to the silver screw.
- Ground (copper) wire to the green screw.
Bend the wire ends into a clockwise hook to ensure a tight connection when you tighten the screws. Gently fold the wires into the box, screw the outlet into place, and attach the cover plate. Reassemble the source outlet in the same way.
Finishing Up: Testing, Troubleshooting, and When to Call a Pro
Before you’re done, you must test your work to ensure the new outlet is both functional and safe.
Key Steps for Testing After You Add a New Power Outlet
- Restore Power: Clear your work area and flip the circuit breaker back to the “ON” position.
- Use a Receptacle Tester: This inexpensive tool plugs into the outlet and uses indicator lights to confirm the wiring is correct or to identify common problems like an open ground or reversed wires.
- Check Voltage (Optional): For extra confirmation, use a multimeter to check the voltage. You should read approximately 120V between the hot and neutral slots, 120V between hot and ground, and 0V between neutral and ground.
- Test GFCI Outlets: If you installed a GFCI, press the “TEST” button. The power should cut off instantly. Pressing the “RESET” button should restore it.
- Final Check: Plug in a lamp or charger to confirm the outlet works as expected.
Common Mistakes and Risks to Avoid
Even careful DIYers can make mistakes. Be aware of these common risks:
- Overloading Circuits: Adding too many high-power devices to one circuit can cause breakers to trip and create a fire hazard. Be mindful of the circuit’s total load.
- Loose Connections: Wires that aren’t securely fastened can arc and overheat, creating a major fire risk. Always ensure connections are tight.
- Damaged Wire Insulation: Nicks in the wire’s protective coating can lead to shorts and shock hazards.
- Overfilled Electrical Boxes: Stuffing too many wires into a box is a code violation and can cause overheating.
- Improper Grounding: The ground wire is a critical safety feature that protects against electrical shock. Never skip it.
- Working on Live Circuits: This is the most dangerous mistake. Always verify the power is off before you begin.
When to Call a Professional Electrician
While this can be a rewarding DIY project, wisdom is knowing when to call an expert. Contact a professional from Stafford Home Service Inc. if you encounter any of the following:
- Aluminum Wiring: Common in homes built from 1965-1973, this wiring requires special handling by a trained electrician.
- Uncertainty or Inexperience: If you feel overwhelmed or unsure at any point, your safety is worth the cost of a professional.
- Complex Projects: Running new circuits from the main panel, upgrading panels, or installing 240-volt outlets are jobs for a licensed electrician.
- Persistent Problems: If the outlet doesn’t work or the breaker keeps tripping, an expert can troubleshoot the underlying issue.
At Stafford Home Service Inc., we provide quality workmanship and complete customer satisfaction throughout Minneapolis MN, Edina MN, Golden Valley MN, and the surrounding areas. Get a quote for professional outlet installation from our experienced team.
Frequently Asked Questions about Adding Power Outlets
Here are answers to some of the most common questions homeowners have about installing new outlets.
How many outlets can I put on a 15-amp or 20-amp circuit?
The National Electrical Code (NEC) focuses on the total electrical load, not a strict number of outlets. A common guideline is up to eight outlets on a 15-amp circuit and ten on a 20-amp circuit. However, the real consideration is what you’ll plug in. A single high-power appliance, like a space heater or microwave, can use most of a circuit’s capacity by itself. This is why kitchens and bathrooms have dedicated 20-amp circuits, and some appliances require their own circuit entirely.
Do I need a permit to add a new power outlet?
Permit requirements vary by location. While simply replacing an existing outlet usually doesn’t require a permit, adding a new outlet or extending a circuit often does. Permits are a form of protection, ensuring your work meets current safety codes and protecting your home’s value. Always check with your local building department before starting your project.
Can I add an outlet anywhere on a wall?
Not exactly. The NEC has specific placement rules for safety and convenience, especially in kitchens, bathrooms, and hallways. You must also contend with what’s inside the wall. A stud finder is essential for locating studs and helping you avoid drilling into plumbing pipes or other electrical cables. You may also encounter horizontal fire blocks between studs, which can add complexity to running the wire. Careful planning is key, and you should be prepared to adjust your outlet’s location to avoid obstacles.
Conclusion
To add new power outlet is an achievable DIY project that makes your home safer and more functional. With the right knowledge, tools, and a commitment to safety, you can eliminate hazardous extension cords and enjoy the convenience of power right where you need it.
The key takeaways are to always prioritize safety, plan your project carefully, and work slowly. Before you start, always turn off the power and verify with a voltage tester that the circuit is dead.
However, electrical work carries real risks. It’s important to know your limits. If you encounter aluminum wiring, need to run a new circuit from your panel, or simply feel uncertain about any step, it’s time to call in the professionals.
At Stafford Home Service Inc., our experienced electricians are committed to providing quality workmanship and complete customer satisfaction. We are your partners in making your home safer and more functional for your family. We proudly serve Minneapolis and the surrounding Minnesota communities.
Whether you do it yourself or hire an expert, you’re making a valuable improvement to your home. For complex jobs or any time you’re in doubt, trust a licensed professional. Contact us today for expert electrical outlet installation in Minneapolis and let us provide the perfect power solution for your home.


