The Ultimate Guide to HVAC Maintenance: From Filters to Pilot Lights
Improve home air quality & save on bills! Learn essential air filter replacement steps, benefits & common pitfalls in our guide.
Why Air Filter Replacement is Essential for Your Home's Health and Comfort
Air filter replacement is a simple yet crucial maintenance task for your HVAC system's efficiency and your home's air quality. Regular replacement of home and vehicle filters prevents costly breakdowns and ensures optimal performance.
Quick Replacement Guide:
- Home HVAC filters: Replace every 90 days (monthly for basic fiberglass).
- Engine air filters: Replace every 12,000 miles or 12 months.
- Cabin air filters: Replace every 12,000-15,000 miles or annually.
- Safety First: Always turn off power before replacing home HVAC filters and note the airflow direction arrow.
Your home's air filter is the first line of defense against dust, pollen, and other airborne particles. Premium filters can remove up to 89% of airborne virus particles, and regular replacement can reduce energy consumption by up to 15%. A clogged filter forces your system to work harder, leading to higher energy bills and potential equipment failure. Fortunately, most filter replacements take just 5-10 minutes and can save you hundreds in repair costs.
Understanding Your Air Filter: The First Line of Defense for Clean Air
Your air filter protects your family and your HVAC system from airborne particles. The key to a filter's effectiveness is its MERV rating (Minimum Efficiency Reporting Value), which ranges from 1 to 16 for residential filters. A higher MERV rating means finer filtration, but it can also increase airflow resistance. Finding the right balance is essential for your system.
Here's a breakdown of common filter types:
Filter TypeMERV Rating (Typical Range)Cost (Relative)Replacement Frequency (Typical)Key Features & BenefitsFiberglassMERV 1-4LowMonthlyBasic filtration; protects HVAC equipment from large particles but does little for air quality.PleatedMERV 5-13Medium30-90 daysCaptures smaller particles like dust mites, dander, and pollen. A good balance of filtration and airflow for most homes.HEPAMERV 17-20High6-12 monthsHigh-Efficiency Particulate Air filters capture 99.97% of particles 0.3 microns or larger. Best for severe allergies but often require specialized HVAC systems. What is a HEPA filter?Washable/ReusableMERV 1-8High (initial)Clean every 1-3 monthsEco-friendly and cost-effective over time. Requires thorough cleaning and drying to prevent mold.Activated CarbonVaries (often MERV 8-13)Medium-High30-90 daysCombined with pleated filters to remove odors (pets, cooking, smoke) and Volatile Organic Compounds (VOCs).
For most homes, pleated filters offer the best value. If odors are a concern, choose an activated carbon filter. For severe allergies or respiratory issues, MERV 13 filters are highly effective, capturing up to 89% of airborne virus particles and 98% of other contaminants like smoke and bacteria.
Signs You Need an Air Filter Replacement
A clogged filter will show clear signs that it needs to be changed. Look for these red flags:
- Reduced airflow from your vents.
- Increased energy bills, as the system works harder. Regular replacement can cut energy use by up to 15%.
- More dust settling on furniture shortly after cleaning.
- Musty odors circulating through the house.
- Worsening allergy symptoms among household members.
- The filter is visibly dirty, appearing gray, black, or caked with debris.
For more warning signs, see our guide on HVAC System Repair Signs.
How Often to Change Your Filter
The 90-day rule is a general guideline, but your home may require more frequent changes. Consider replacing your filter monthly if you have:
- Pets, which produce dander and hair.
- Allergies or asthma in the household.
- Smokers in the home.
- A dusty environment (e.g., near construction).
Basic fiberglass filters require monthly changes, while pleated filters typically last 30-90 days. Always check the manufacturer's recommendations for your specific system and filter. Learn more on our Air Filters page.
Step-by-Step Guide to Home HVAC Air Filter Replacement
Replacing your air filter is a quick and easy DIY task. With the right-sized filter, you can complete the job in minutes.
Before you begin, get your new air filter, ensuring the dimensions (e.g., 20x25x1) match the old one. You may also want a marker to date the new filter and a rag to clean the housing.
The most important rule: always turn off the power to your HVAC system first. Use the power switch on the unit or the corresponding breaker in your electrical panel for safety.
The 5-Step Replacement Process
Follow these five steps for a successful air filter replacement.
Step 1: Turn off power to your HVAC system at the unit or breaker panel.
Step 2: Locate and open the filter housing. The filter is in a slot along the return air duct, often near the furnace or in a wall/ceiling vent. Some slide out directly, while others have a cover.
Step 3: Remove the old filter. Note the direction of the airflow arrow printed on its frame. You will need to match this orientation with the new filter.
Step 4: Insert the new filter. Make sure the airflow arrow points in the same direction as the old one (typically toward the furnace). Ensure it fits snugly without any gaps.
Step 5: Close the housing and restore power. Secure any covers or latches, then turn the power back on. You're done!
The Benefits of Regular Replacement
This simple task offers significant rewards:
- Energy Efficiency: A clean filter allows air to flow freely, which can reduce energy consumption by up to 15%.
- Improved Air Quality: Premium filters remove up to 89% of airborne virus particles, along with dust, pollen, and dander. This is especially beneficial for those with allergies. Learn more about Improving Home Indoor Air Quality.
- System Longevity: Reducing strain on your HVAC system prevents wear and tear on key components like the fan motor, preventing costly repairs. A dirty filter can lead to issues like frozen evaporator coils. Find more tips on how to Combat Allergies with Your HVAC System.
Beyond the Home: A Quick Guide to Vehicle Air Filters
Your vehicle also relies on air filters for performance and air quality. Neglecting your car's engine and cabin air filters can reduce fuel efficiency and compromise the air you breathe while driving.
A dirty engine air filter restricts airflow, leading to reduced horsepower and poor fuel economy. A clogged cabin air filter allows pollutants like exhaust fumes, pollen, and dust into your car's interior. Fortunately, air filter replacement in a vehicle is a simple, cost-effective task.
Replacing Your Engine Air Filter
This filter protects your engine from damaging debris. Most should be replaced every 12 months or 12,000 miles, or more often if you drive in dusty conditions.
- Park the car on level ground with the engine cool and pop the hood.
- Locate the air filter housing, a black plastic box connected to a large hose.
- Open the housing by releasing the clips or unscrewing the bolts.
- Remove the old filter, being careful not to let debris fall into the engine intake. Wipe the inside of the housing with a clean rag.
- Insert the new filter, ensuring a snug fit.
- Close the housing securely and you're done.
For more detailed instructions, see this guide on How to Replace Car Air Filters.
Replacing Your Cabin Air Filter
This filter cleans the air entering your passenger compartment. Replace it every 12,000 to 15,000 miles or annually to keep your cabin air fresh and your HVAC system working efficiently.
- Locate the filter, which is typically behind the glove box.
- Remove the glove box. This usually involves detaching a damper arm and pressing the sides to release it.
- Open the filter access door behind the glove box.
- Remove the old filter, noting the airflow direction arrow.
- Insert the new filter, making sure the arrow points in the correct direction.
- Replace the cover and reinstall the glove box.
This guide on How to Change Your Cabin Air Filter offers model-specific tips. Regular vehicle air filter replacement improves performance, air quality, and helps avoid costly repairs.
Common Pitfalls and Pro Tips
While air filter replacement is simple, a few common mistakes can undermine its effectiveness. Avoiding these pitfalls ensures the job is done right.
- Using the Wrong Size Filter: An ill-fitting filter allows unfiltered air to bypass it, sending dust and debris into your HVAC system. Always double-check the dimensions on your old filter.
- Installing the Filter Backwards: The airflow arrow on the filter is critical. Installing it backward will impede airflow and reduce filtration efficiency. The arrow should point toward the furnace or air handler.
- Forgetting to Turn Off the Power: For your safety, always turn off the power to your home HVAC unit at the switch or breaker before starting.
- Not Sealing the Housing Properly: Ensure all clips, latches, and screws on the filter housing are secure. Gaps allow unfiltered air to enter the system.
- Letting Dirt Fall into the Intake: When removing a dirty filter, be careful not to spill debris into the clean side of the air intake, which can damage sensitive components.
If your filter gets dirty much faster than expected, it could signal a larger issue like leaky ducts. For more advice, see our HVAC Maintenance Tips.
Cleaning vs. Replacing: What's the Best Choice?
The choice depends on your filter type. Disposable filters (pleated paper, fiberglass) are designed for single use and should never be cleaned, as this can damage them and risk mold growth. Always replace them.
Washable or reusable filters are designed to be cleaned and reused. To clean one:
- Gently vacuum off loose debris.
- Wash with mild detergent and lukewarm water.
- Rinse thoroughly without using high pressure.
- Allow the filter to dry completely before reinstalling to prevent mold.
While reusable filters are eco-friendly, high-MERV disposable filters often provide superior filtration. For more details, see these Guidelines for cleaning or replacing your AC filter.
DIY vs. Professional Air Filter Replacement: A Cost Comparison
DIY replacement is the most cost-effective option. You only pay for the filter itself (typically $10-$60), and the task usually takes 5-20 minutes.
Professional service offers convenience and expertise. While it includes labor costs, it's a great option if you're short on time, uncomfortable with the task, or if the filter is hard to access. A technician can also spot underlying issues if your filter gets dirty too quickly. Many homeowners have filters changed during scheduled maintenance, like our HVAC System Regular Service Check-ups.
Frequently Asked Questions about Air Filter Replacement
Here are answers to some common questions about air filter replacement.
How does a dirty air filter impact my HVAC system's efficiency?
A clogged filter restricts airflow, forcing your HVAC system to work harder to circulate air. This increased strain leads to higher energy consumption and utility bills. Over time, it causes excessive wear on components like the fan motor. In an air conditioning system, severe airflow restriction can cause the evaporator coils to freeze, leading to a system shutdown and potentially costly repairs.
What MERV rating is best for my home?
Choosing the right MERV rating is a balance between filtration and airflow.
- MERV 8-11 filters are ideal for most homes, capturing common allergens like dust, pollen, and pet dander without overly restricting airflow.
- MERV 13 filters offer superior filtration for those with severe allergies or asthma, capturing smaller particles like bacteria and smoke.
Before choosing a high-MERV filter, ensure your HVAC system is rated to handle the increased airflow resistance. Using a filter that is too restrictive can strain your system. For odors, consider a filter with activated carbon.
Can I use a filter that's a different size than the old one?
No. Using the wrong size filter is a critical mistake. A filter that is too small will leave gaps, allowing unfiltered air to bypass the filter and enter your HVAC system. This defeats the purpose of filtration and can lead to dirt buildup on sensitive components like your system's coils, reducing efficiency and potentially causing damage. Always use a filter with the exact dimensions required for your unit.
Conclusion
As we've seen, air filter replacement is a simple, high-impact maintenance task that benefits your health, comfort, and budget. A few minutes of work every few months can lower your energy bills by up to 15%, improve your indoor air quality, and extend the life of your HVAC system.
By understanding the signs of a dirty filter and following the correct replacement steps for your home and vehicle, you can ensure your systems run efficiently. Clean filters mean better performance, cleaner air, and fewer costly repairs.
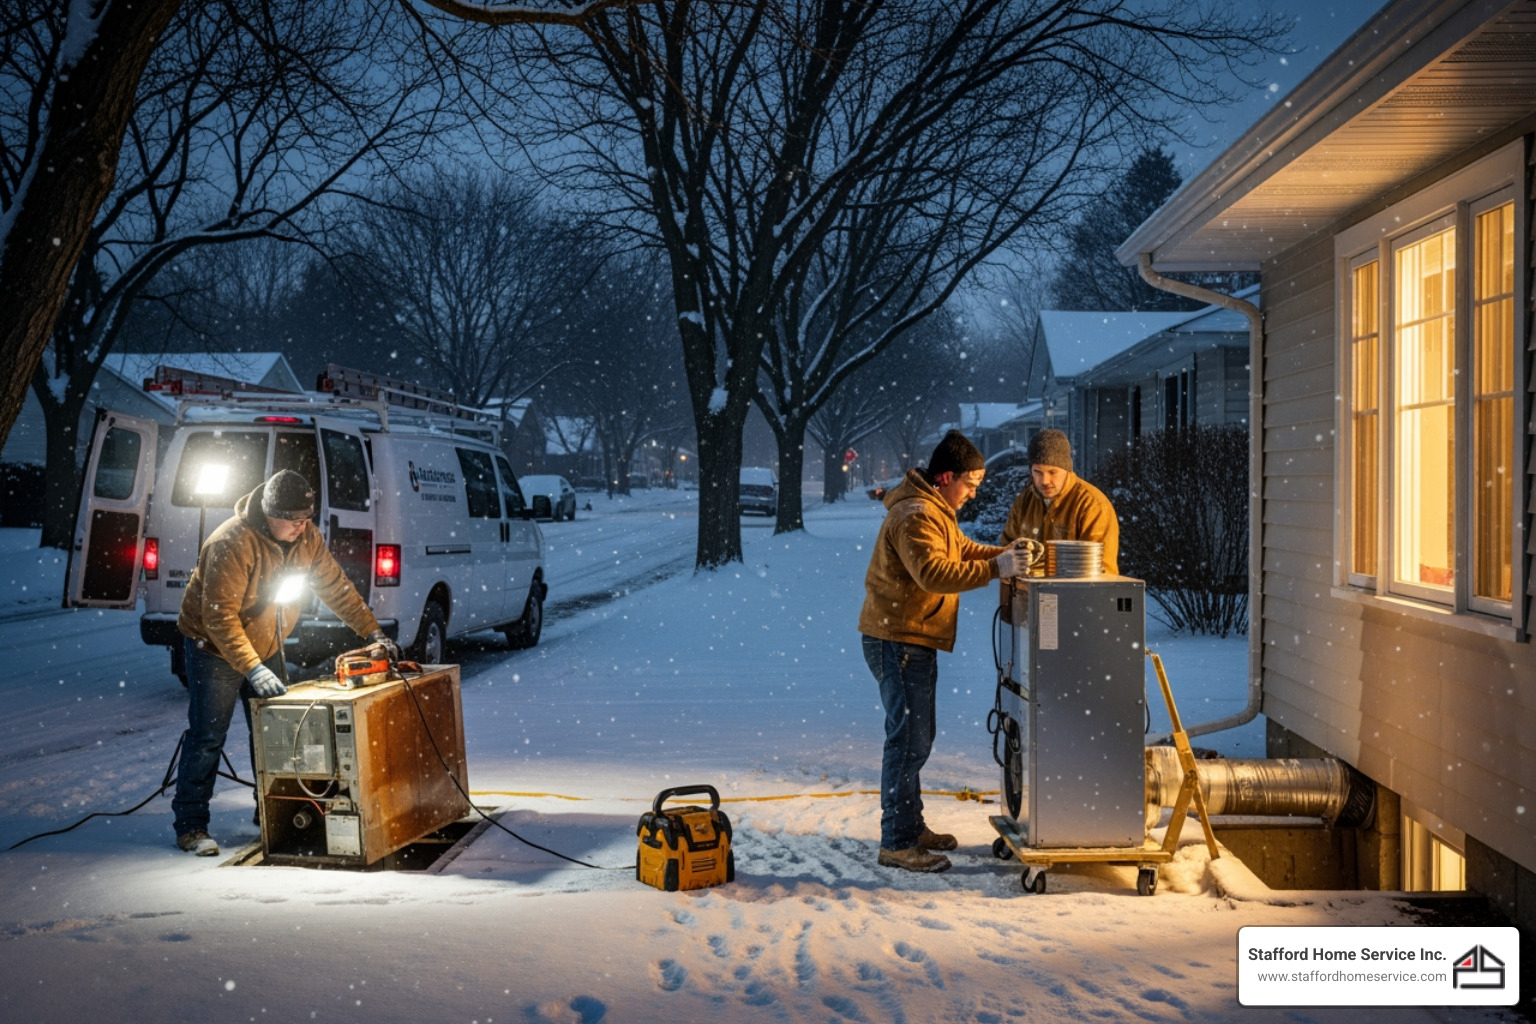
While DIY filter maintenance is straightforward, some situations call for professional expertise. For comprehensive diagnostics and professional HVAC maintenance in Minneapolis, MN, trust the experts at Stafford Home Service Inc. to keep your system running perfectly. Our team is dedicated to creating a healthy and comfortable environment for your family.
Customer Testimonials
Our customers consistently praise our knowledgeable technicians, prompt service, and the lasting quality of the work we deliver.