Get Grounded: DIY Outdoor GFCI Outlet Installation
Master outdoor GFCI outlet installation! Our DIY guide provides steps for safe, code-compliant outdoor power. Protect your family.
Why Your Yard Needs GFCI Protection
Thinking about Outdoor GFCI outlet installation? Here’s the quick rundown on why it’s a smart move for your home:
- Improved Safety: GFCI (Ground Fault Circuit Interrupter) outlets quickly cut power if they detect an electrical fault, preventing shocks.
- Water Protection: They are specifically designed for areas where electricity and water might mix, like your yard or patio.
- Code Compliance: The National Electrical Code (NEC) requires GFCI outlets in all wet or damp locations, including outdoor spaces.
- Convenience: Provides safe, accessible power for outdoor lighting, tools, and appliances without risky extension cords.
A GFCI outlet is a special safety device that constantly monitors electricity flow. If it detects a tiny imbalance—a “ground fault”—it trips in milliseconds, shutting off power and preventing serious electrical shock. This protection is vital when using outdoor items like string lights, leaf blowers, or patio heaters.
Installing an outdoor GFCI outlet provides peace of mind and convenience, eliminating the need for risky extension cords stretched from inside. You get safe, direct power right where you need it.
Gearing Up: Tools, Materials, and Planning
Before starting your Outdoor GFCI outlet installation, it’s crucial to gather all your tools and materials. Proper preparation prevents mid-project scrambles with exposed wires. Most of what you need may already be in your toolbox.

Essential Tools and Materials
Your most important items are a weather-resistant (WR) GFCI receptacle and a voltage tester. The “WR” label is essential for outdoor durability, and the voltage tester is a non-negotiable safety tool to confirm the power is off before you begin. A suitable receptacle is a great choice.
You will also need:
- Drill with bits: A 1/4-inch twist bit for most walls, or a masonry bit and hammer drill for brick/stucco.
- Wire strippers and cutters
- Screwdrivers (Phillips and flathead)
- Stud finder
- NM-B electrical cable (e.g., 12/2 wire for a 20-amp circuit)
- Outdoor electrical box (recessed or surface-mounted)
- Weatherproof “in-use” cover: This is required by code and allows you to keep items plugged in during wet weather. A heavy-duty weatherproof receptacle cover is a wise investment.
- Wire nuts and electrical tape
- Keyhole saw or jigsaw
- Strain relief cord connectors (for metal boxes)
Planning Your Outdoor GFCI Outlet Installation
Proper planning is key to a successful installation.
Location is everything. The easiest approach is to find an indoor outlet on the exterior wall where you want your outdoor power. This allows you to tap into an existing circuit rather than running a new one from your main panel, a job best left to a professional.
Consider height and accessibility. The outlet should be high enough to avoid splashes but low enough for easy access.
From a code perspective, you cannot tap into kitchen, bathroom, laundry room outlets, or any circuits dedicated to major appliances. These circuits are often at capacity or have specific protection requirements. Look for outlets in living rooms, bedrooms, or hallways.
Before you begin, check the electrical box capacity of your chosen indoor outlet. Most standard boxes can handle two sets of wires. If the box is already full, you’ll need to upgrade to a larger remodeling box to avoid a fire hazard.
Finally, decide between a recessed versus surface-mount box. A recessed box sits inside the wall for a cleaner look but requires more cutting. A surface-mount box is easier to install but is more visible. Both are safe and code-compliant.
Your Step-by-Step Outdoor GFCI Outlet Installation Guide
This section walks you through the Outdoor GFCI outlet installation step-by-step. Electricity demands respect, so follow all safety rules carefully.
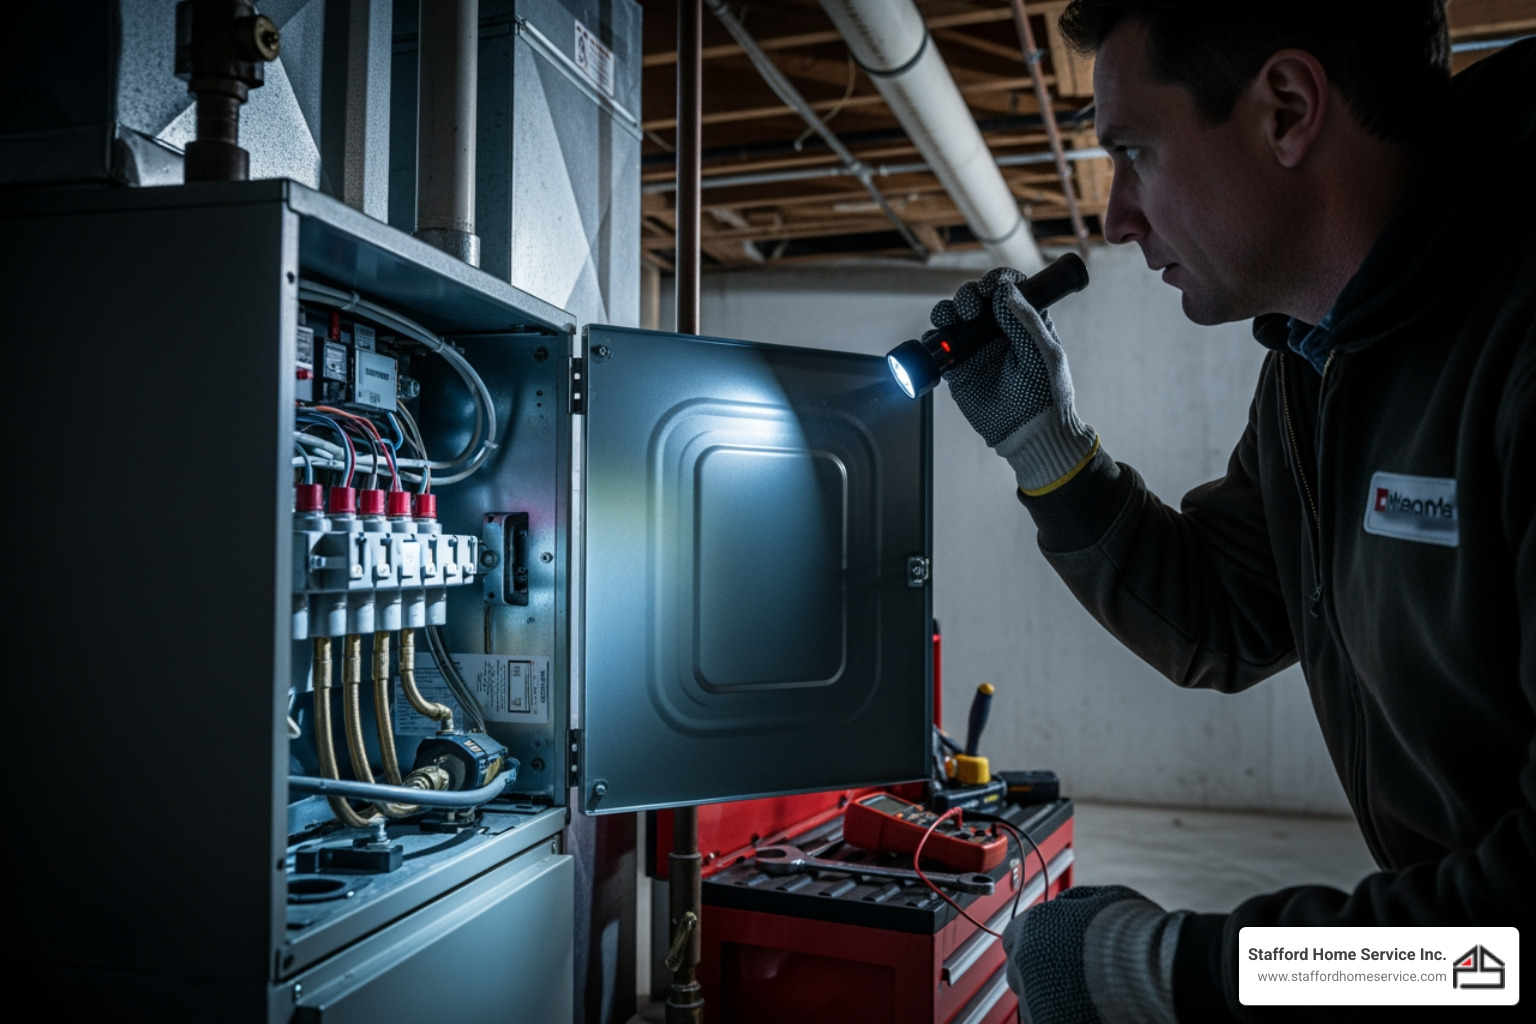
Step 1: Shut Down Power and Prepare the Indoor Box
The golden rule of electrical work is to always confirm the power is completely off.
Go to your main electrical panel and flip the circuit breaker for your chosen indoor outlet to “OFF.” It’s a good practice to tape the breaker in the off position to prevent it from being turned back on accidentally.
Next, use your non-contact voltage tester on the indoor outlet. Test the slots and screws. If the tester beeps or lights up, the power is still on. Go back to the panel and find the correct breaker.
Once you’re certain the power is off, remove the outlet’s cover plate and unscrew the receptacle from the box. Gently pull it out. Taking a photo of the wiring with your phone can be a helpful reference.
Check if the existing electrical box can handle another cable. If it’s crowded, upgrade to a larger plastic remodeling box to prevent a fire hazard. Finally, use a screwdriver to pop out one of the pre-scored “knockouts” on the back of the box to create an entry point for the new cable.
Step 2: Create the Exterior Opening and Run the Cable
Now, let’s connect the inside to the outside.
Use your stud finder on the interior wall to locate the space between studs. From inside, drill a small 1/4-inch pilot hole through the wall. Drill at a slightly downward angle toward the exterior. This helps prevent water from entering the wall cavity.
Outside, find the pilot hole. Hold your outdoor electrical box against the wall, using the pilot hole as a guide. Use a level to keep it straight and trace the box’s outline.
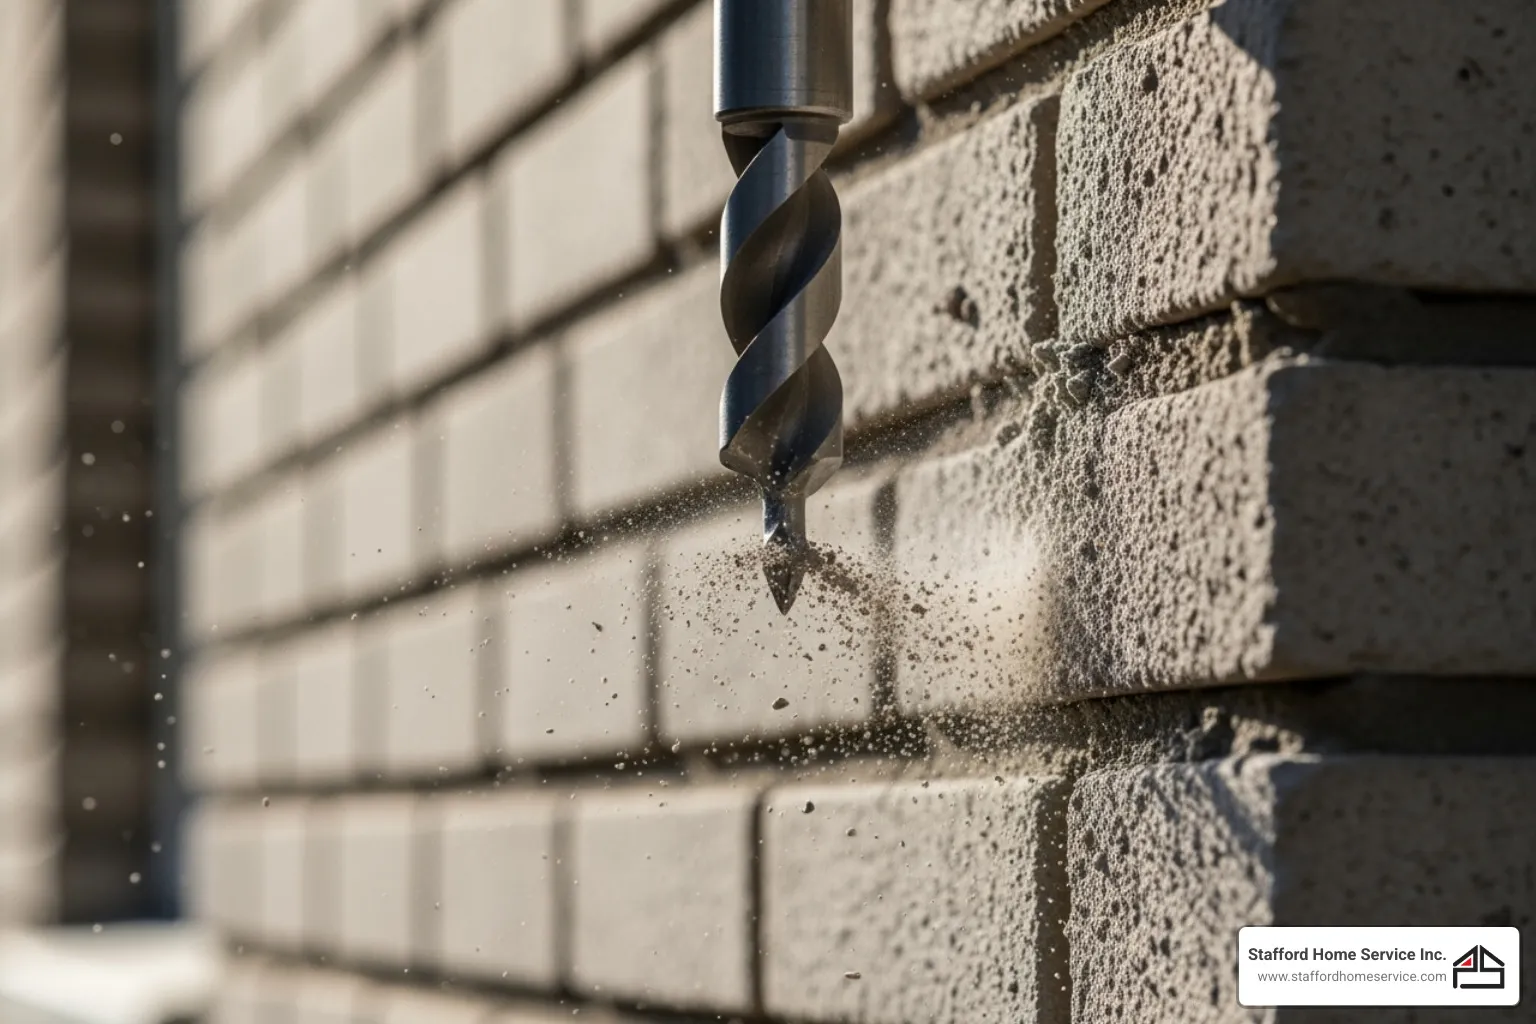
Cut the opening based on your wall material. For wood or drywall, use a keyhole saw or jigsaw. For stucco or brick, drill a series of small holes with a masonry bit and chisel out the opening.
Back inside, feed your NM-B electrical cable through the indoor box’s knockout and push it through the pilot hole to the outside. Leave about 12 inches of extra cable on both ends for easier wiring.
To install the outdoor box, feed the cable through a knockout. If using a metal box, add a strain relief connector to protect the wire. Mount the box securely to the exterior wall with appropriate screws.
Step 3: Wiring the New Outdoor GFCI Outlet
Wiring a GFCI is different from a standard outlet due to its safety features. The key is understanding the “LINE” and “LOAD” terminals.
At the outdoor box, strip about 4 inches of the cable’s outer sheathing, then strip 1/2 inch of insulation from the black and white wires.
- Bare copper wire (ground): Connect to the green grounding screw on the GFCI.
- White wire (neutral): Connect to the silver screw marked “LINE.”
- Black wire (hot): Connect to the brass screw marked “LINE.”
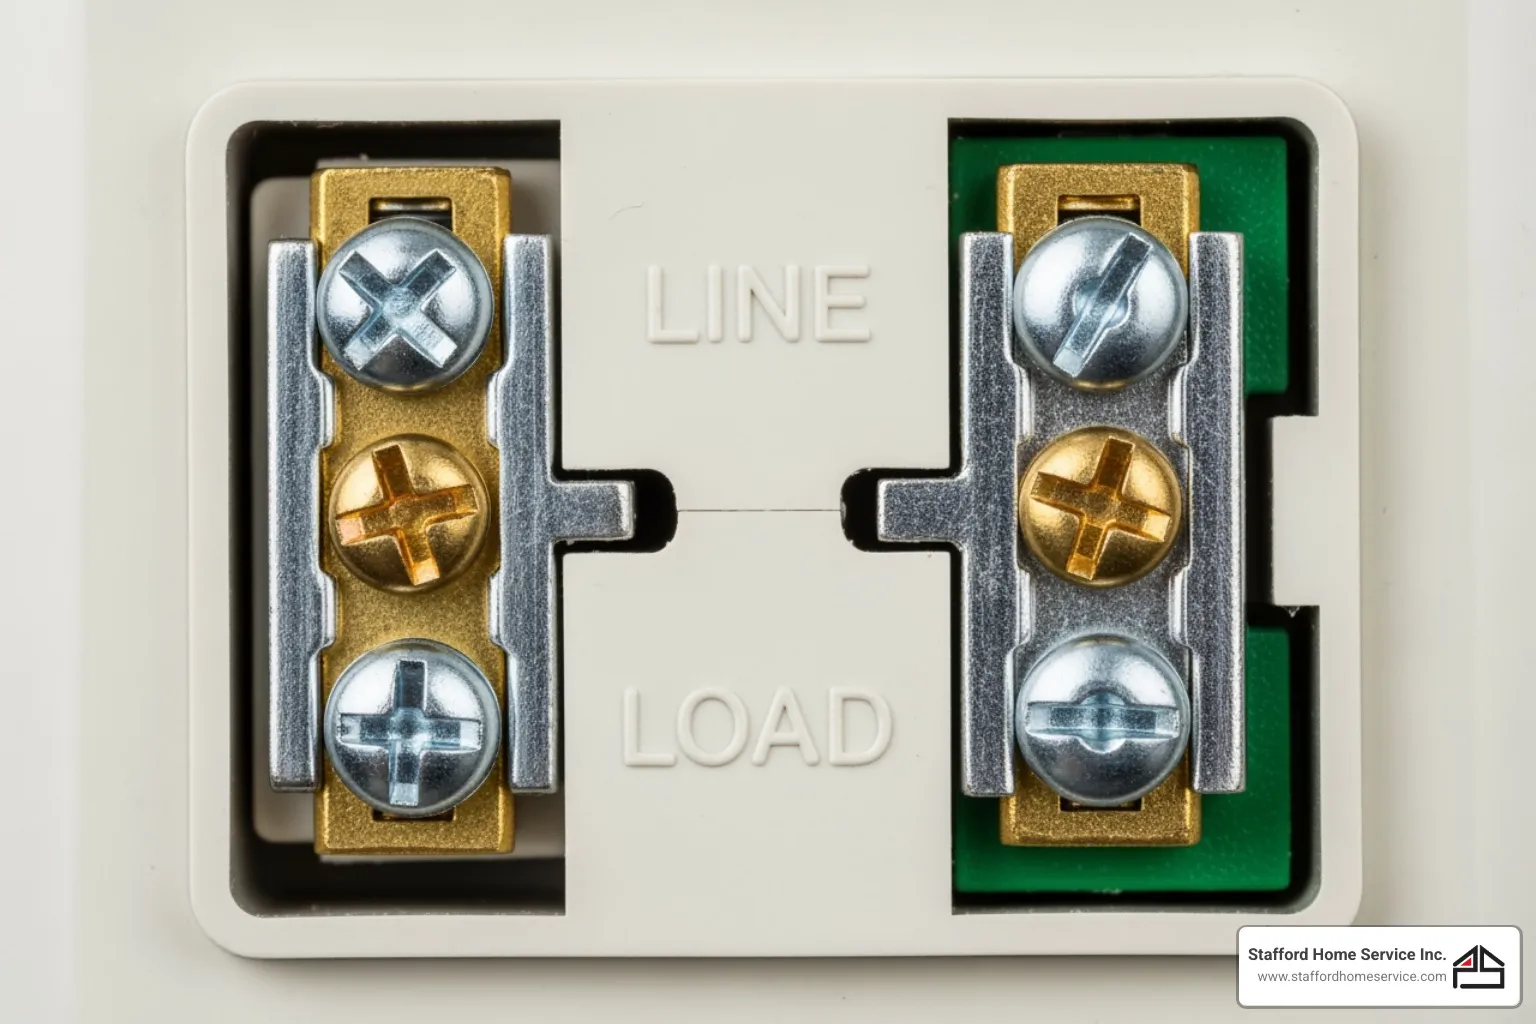
The LOAD terminals, often covered by a yellow sticker, are for protecting other outlets downstream. For this single outlet installation, you will not use them. Connecting incoming power to the LOAD terminals is a common mistake that will prevent the GFCI from working.
Once connected, carefully fold the wires into the box and mount the GFCI outlet. Install the rubber gasket and the weatherproof “in-use” cover to protect the outlet from the elements.
A heavy-duty weatherproof receptacle cover
Step 4: Rewiring the Indoor Outlet
Now, let’s complete the circuit indoors.
Strip the indoor end of the new cable. If the indoor box already contains multiple wires, you’ll need to create “pigtails” (short pieces of wire) to safely connect multiple wires to a single terminal. Twist the existing wires of the same color with the new wire and a pigtail, secure with a wire nut, and connect the pigtail to the outlet terminal.
Connect all wires:
- Bare copper wires to the green grounding screw.
- White wires to the silver terminal.
- Black wires to the brass terminal.
Secure all connections with wire nuts, twisting them until tight. A gentle tug will confirm they are secure. For extra protection, wrap each wire nut with electrical tape.
Carefully fold the wires back into the box, reinstall the outlet, and attach the cover plate.
The Final Check: Testing and Troubleshooting Your Work
After your careful work, it’s time to confirm everything is working safely.
Restoring Power: Head back to your electrical panel and flip the circuit breaker to the “ON” position.
Initial Testing: Plug a lamp into your indoor outlet to ensure it works. Then, plug the same lamp into your new outdoor GFCI outlet. If it powers on, you’re on the right track.
Testing the GFCI Function: With the lamp on, press the “TEST” button on the GFCI outlet. You should hear a click, and the lamp should turn off. This confirms the safety feature is working. Now press the “RESET” button; the lamp should turn back on. If it does, your Outdoor GFCI outlet installation is a success. For a more thorough check, use a plug-in GFCI tester.
Common Troubleshooting Steps
If things don’t work perfectly, don’t worry. Most issues are simple fixes.
If your outlet has no power, check if the circuit breaker is on and if the GFCI’s “RESET” button is pushed in. Many GFCIs ship in a tripped state. The most common wiring mistake is connecting power to the “LOAD” terminals instead of the “LINE” terminals. Turn off the power and double-check your connections. Also, ensure all connections are tight.
If your GFCI trips immediately or won’t reset, you likely have a LINE/LOAD reversal. Turn off the power and verify your incoming power wires are connected only to the “LINE” terminals. If it still trips with nothing plugged in, the issue could be a short circuit in your wiring or a faulty GFCI outlet.
How to Test and Maintain Your GFCI Outlets
Your GFCI is like a smoke detector for electrical hazards and requires regular testing.
Monthly testing is recommended by the National Electrical Code. Simply press “TEST,” then “RESET” to ensure it’s working.
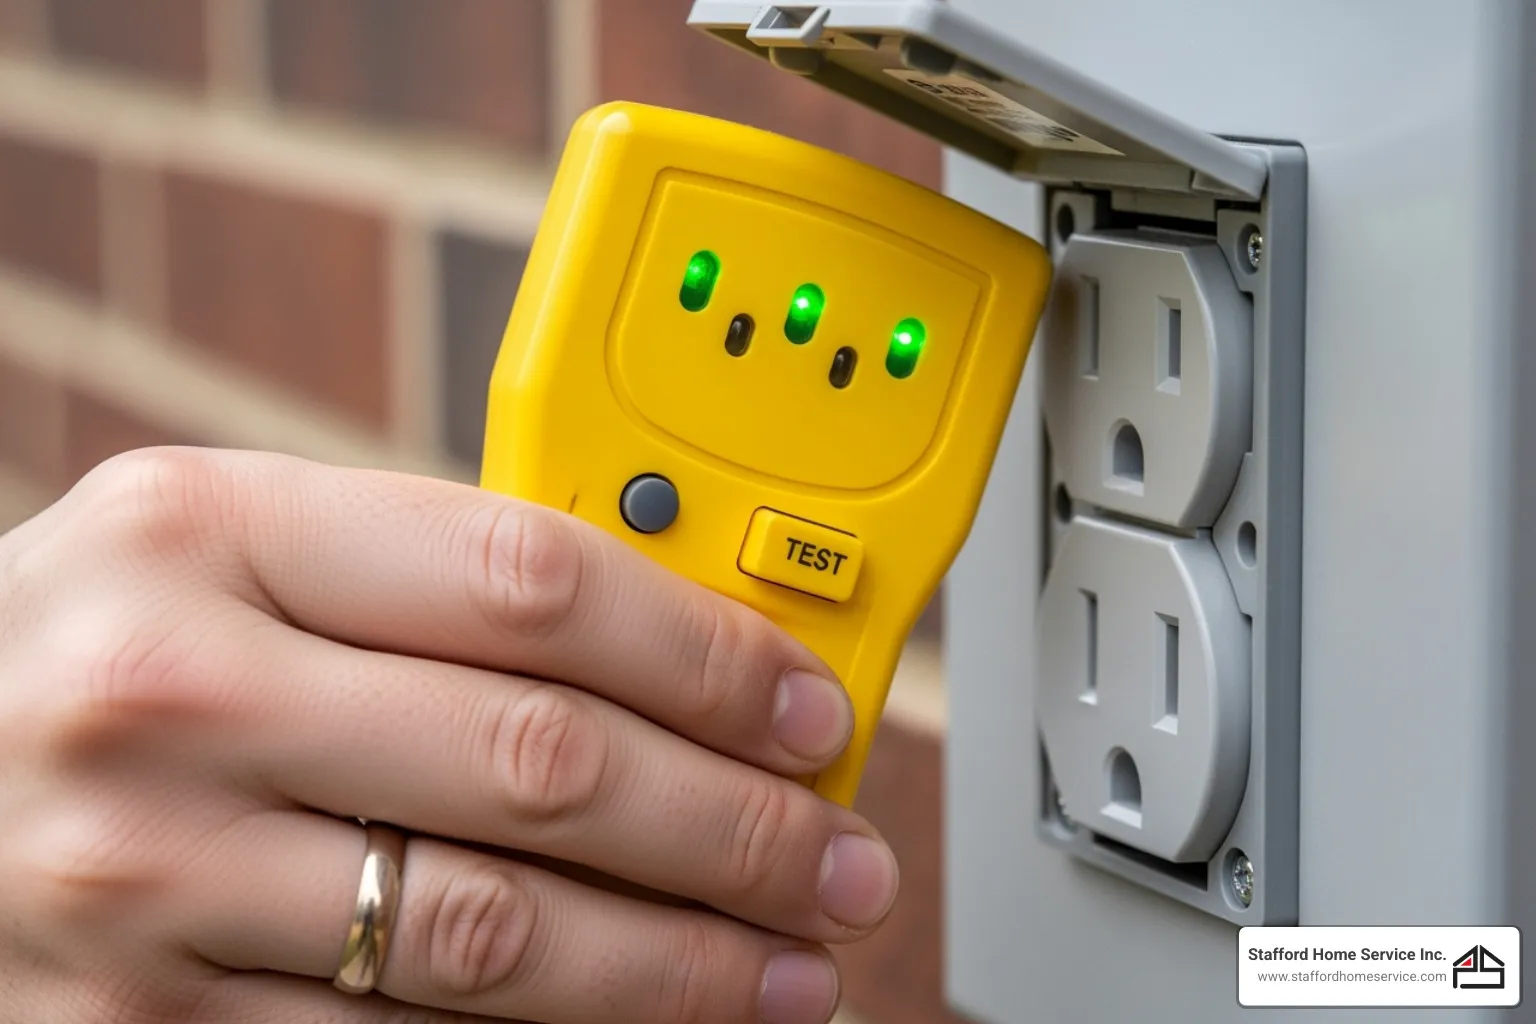
Using a plug-in GFCI tester provides a comprehensive check. The indicator lights will tell you about your wiring and protection status.
What the indicator lights mean varies, but a red or flashing red light often signals a problem, such as the GFCI has tripped or reached its end-of-life. Modern GFCIs are designed to fail safely by shutting down permanently when their internal components wear out.
This monthly testing schedule is a small insurance policy. What a GFCI outlet does is save lives. An end-of-life indication (won’t reset, red light) means it’s time for a replacement, typically after 10-15 years.
Key Safety Precautions for Outdoor GFCI Outlet Installation
Safety is the foundation of every successful Outdoor GFCI outlet installation. Let’s highlight the most critical precautions to keep you safe and your installation up to code:
- Always turn off power at the circuit breaker and verify with a voltage tester before touching any wires.
- The National Electrical Code (NEC) requirements mandate GFCI protection for all outdoor receptacles.
- Check local building codes for any additional requirements, such as permits or inspections.
- A Weather-Resistant (WR) rating is essential for outdoor outlets. Look for the “WR” marking.
- “In-use” weatherproof covers are required to protect connections from rain and snow, even when something is plugged in.
- Avoid overcrowded electrical boxes, which are a fire hazard. Upgrade to a larger box if necessary.
- Use the proper wire gauge for your circuit’s amperage (e.g., 12-gauge for 20-amp circuits).
When to call a professional electrician? If you feel uncertain at any point, that’s your cue. Homes with aluminum wiring, concerns about circuit overload, or the need for a new dedicated circuit are jobs for a pro. If you have complex wall materials or code compliance questions, don’t hesitate to reach out.
At Stafford Home Service Inc., we prioritize your safety. Our experienced owners and skilled electricians know that the smartest DIY decision is sometimes knowing when to call in the pros. We’re here to help with guidance or professional electrical outlet installation services.
Conclusion: Powering Your Outdoors with Confidence
You’ve just completed a project that brings both DIY satisfaction and a meaningful upgrade to your home’s safety. Your Outdoor GFCI outlet installation is something to be proud of.
The improved safety protects your family around the clock, and the convenience of outdoor power makes everything from holiday decorating to yard work easier. You’ve learned a new skill and gained the confidence that comes from knowing your home’s wiring is safe.
Of course, we understand that not every homeowner has the time or comfort level for electrical work. If you have any doubts, the right call is to have a professional handle it.
Stafford Home Service Inc. has helped Minnesota homeowners with these exact projects for years. Our experienced owners and skilled electricians are committed to quality workmanship and complete customer satisfaction. We bring years of experience, professional tools, and the peace of mind that comes with licensed and insured work.
Whether you’re in Minneapolis, Edina, Golden Valley, Minnetonka, Plymouth, St. Louis Park, or anywhere else across Minnesota, our team is ready to help.
Ready to power up your outdoor spaces safely and professionally? Our Professional electrical outlet installation services are designed to give you all the benefits of outdoor power without the stress. We’re here to help you get grounded—safely and efficiently.
Customer Testimonials
Our customers consistently praise our knowledgeable technicians, prompt service, and the lasting quality of the work we deliver.